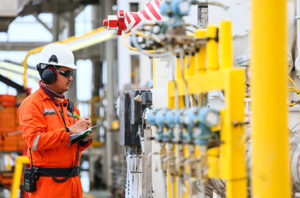
Factory trained and certified RAMCO personnel will visit your site and conduct a safety shield survey, often at no charge. We will identify the piping connections that require shielding and take measurements for future fabrication of the shields. All connections will be identified and tagged at the time of the survey to easily identify the correct shield at the time of installation.
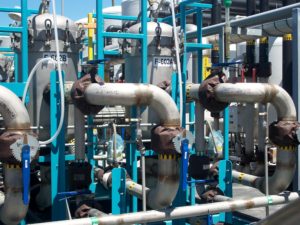
Once the shields are produced in our factory and shipped to your job site, we will provide installation services at your convenience. The RAMCO personnel who conducted the initial survey will also be scheduled to do the installation. RAMCO personnel will ensure all piping connections initially tagged for shielding are complete and all shields fit properly and installed correctly.
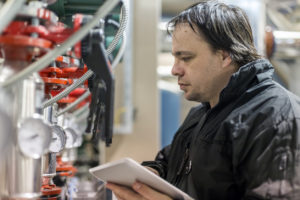
As part of our field services program, we will visit your site once per year to inspect all shields to ensure quality and that they are still properly installed. We will notify the customer of any shields that need to be replaced at this time.
 © 2024 Ramco-SafetyShields, LLC. All right reserved.
Our website is available in many languages, courtesy of Google Translate. Select your preferred language below.
The eCommerce portion of our website is available in multiple currencies as well. Select the currency you wish to pay in below.
Currently:
US Dollars (USD)
Pounds Sterling (GBP)
Please note: We currently only offer shipping to the US and UK, and the currency of each order must match its destination country. If you would like to ship to a different country, you will be able to submit your cart for a quote on the checkout page.
